

 English


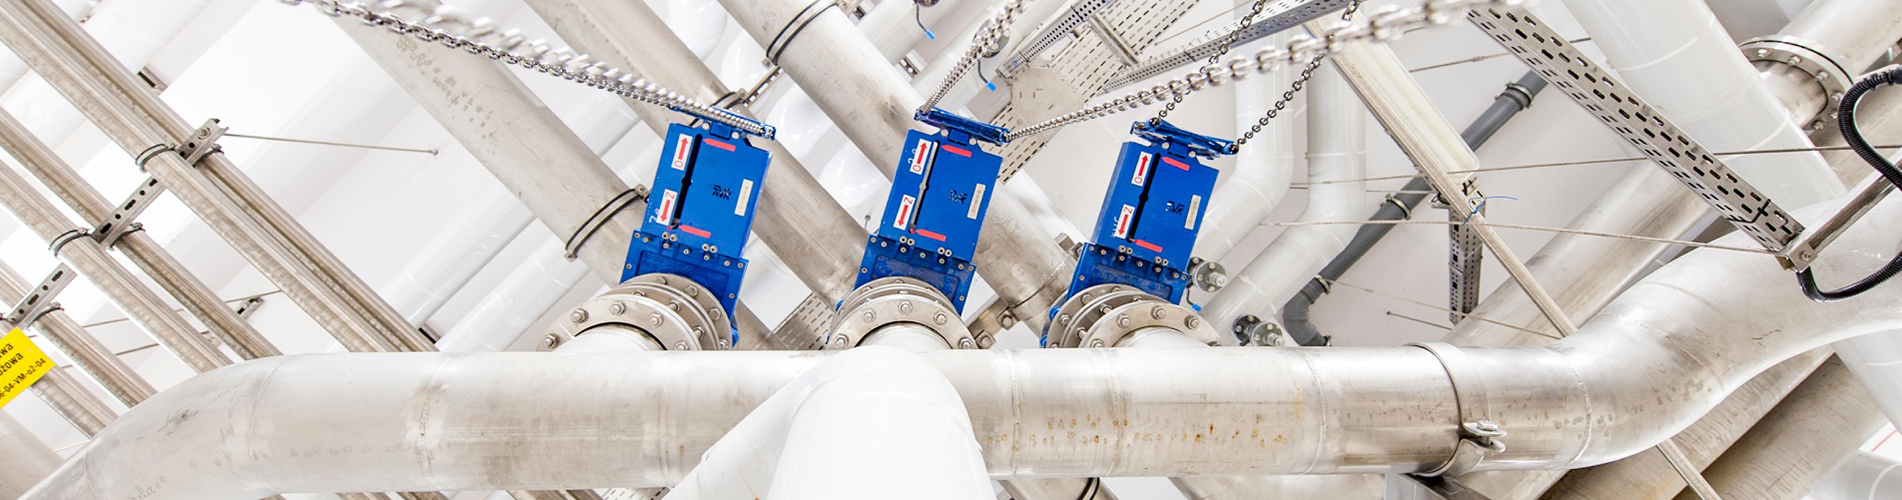
Knife gate valve maintenance and repair
Standard packing kits are available from knife gate manufacturers and their distributors. Packing kits include the necessary packing to ensure a tight seal. When ordering a packing kit, be sure to specify the valve model, seat type, and valve type. Safety first: Relieve valve pressure and make sure it is closed.

1. Remove the packing gland nuts and bolts.
2. Raise the gate to the fully open position.
3. Pull the packing gland up and secure it to the top of the gate.
4. Remove all old packing using a packing hook or screwdriver.
5. Carefully clean the packing box.
6. using the pre-cut packing kit, insert one row of packing at a time into the packing box. Tap each row of packing into place using a flat steel tool. Packing joints should be 180° apart.
7. Pull down on the packing gland and tighten the nuts and bolts using the cross-torque method. Do not over-tighten.
8. Bring the valve to operating pressure and tighten the packing gland enough to stop any leakage or dripping. Over-tightening the gland will result in shorter packing life.
Valve Seat Replacement
To replace the seat, first remove the valve from the line.
Bidirectional Peripheral Seats
1. Disconnect the stem U-clamp from the gate and remove the yoke and stem assembly. Remove the packing gland, packing and valve.
2.To remove the seat, it may be necessary to securely clamp the seat and wire insert in a pair of vices and possibly pull the old seat out of the valve body with the aid of a spring. At the bottom of the valve, the seat groove has retainer flanges and the rubber seat must be pulled through this narrow opening.
3. To install a new seat and repack the valve, reverse steps are performed. First, place the new seat into the valve body seat cavity by bending the seat into a horseshoe shape and inserting it into the seat cavity. Take a three or four foot long flat steel bar approximately 3/8" x 2" or 3" wide and tap the seat as firmly as possible into the bottom of the valve and along the side.
4. Insert the valve when the seat is in place and the end of each side protrudes above the stuffing box. Install the yoke and stem assembly and move the gate to the bottom position, making sure the seat is pushed into its retaining ring groove along the bottom and sides.
5. When the seat is fully seated, remove the yoke and stem assembly. Repack the valve, placing a strip of packing on each side of the gate so that it lines up with the full length of the stuffing box. Make sure the packing is cut long enough to fit snugly into the ends of the stuffing box. When the valve gland is filled, use a hacksaw to cut off the excess rubber seat above the stuffing box on each side.
6. Install the packing gland and reinstall the valve yoke and stem assembly.
7. Stroke the valve one full cycle to ensure easy operation and that the valve body or packing gland does not rub on the gate.
8. Under pressure, tighten packing gland bolts only enough to stop packing leakage.
Unidirectional O-Ring Seat Replacement Procedure
To replace the O-ring seat seal, remove the valve from the line or approach the seat in the line.
1. Push the valve to the fully open position.
2. Remove the old O-ring and scrape off any residue that has accumulated in the seat O-ring groove. Ensure that the o-ring groove is completely cleaned before continuing.
3. Install the new O-ring as follows:
a. Note that the diameter of the new O-ring is slightly smaller than the diameter of the O-ring groove. This will allow the O-Ring to stretch slightly when installed in the groove. Lubricate the groove with some light oil. the O-Ring will have a bonded joint. Make sure the joint is installed at approximately the 6:00 o'clock position.
b. Push approximately a 1 to 2 inch section of the O-ring into the groove at the 12:00 o'clock position. The groove is dovetailed so the bottom of the groove is wider than the top. the top of the O-ring may be a little tight.
c. Gently pull out the O-ring to find the point on the O-ring that is exactly halfway to the 12:00 o'clock position. Push about 1 to 2 inches of the O-ring into the groove at the 6:00 o'clock position. Make sure that between the 12:00 and 6:00 o'clock positions, the o-ring is equal in length on both sides.
d.Now perform the same operation at the 3:00 o'clock position and the 9:00 o'clock position, always making sure that the o-rings are equal in length on both sides of the point where they are pushed into the valve seat.
e.Continue this operation by pushing the o-ring into the groove so that it is midway between the two points where the o-ring has been installed.
f.Once the O-ring is fully installed, check that it is evenly distributed in the groove. If the O-rings appear to be thicker in some places than others, use a smooth round piece of wood or plastic to balance out the inconsistency.
g. Lubricate the seat surfaces and O-rings with silicone grease.
Categories
Recent Posts
For inquiries about our products or pricelist, please leave to us and we will be in touch within 24 hours.


 NO.139,Xianghe Road,Fangbu Industrial Zone,Tonglu,Hangzhou,China
Copyright © 2024 Tonglu Yongxin Valve Co.,Ltd.All Rights Reserved. Powered by dyyseo.com

IPv6 network supported


